Project Invoice Setup - Assisted Setup
The easiest way to configure Project Invoice is to use the assisted setup.
Step 1:
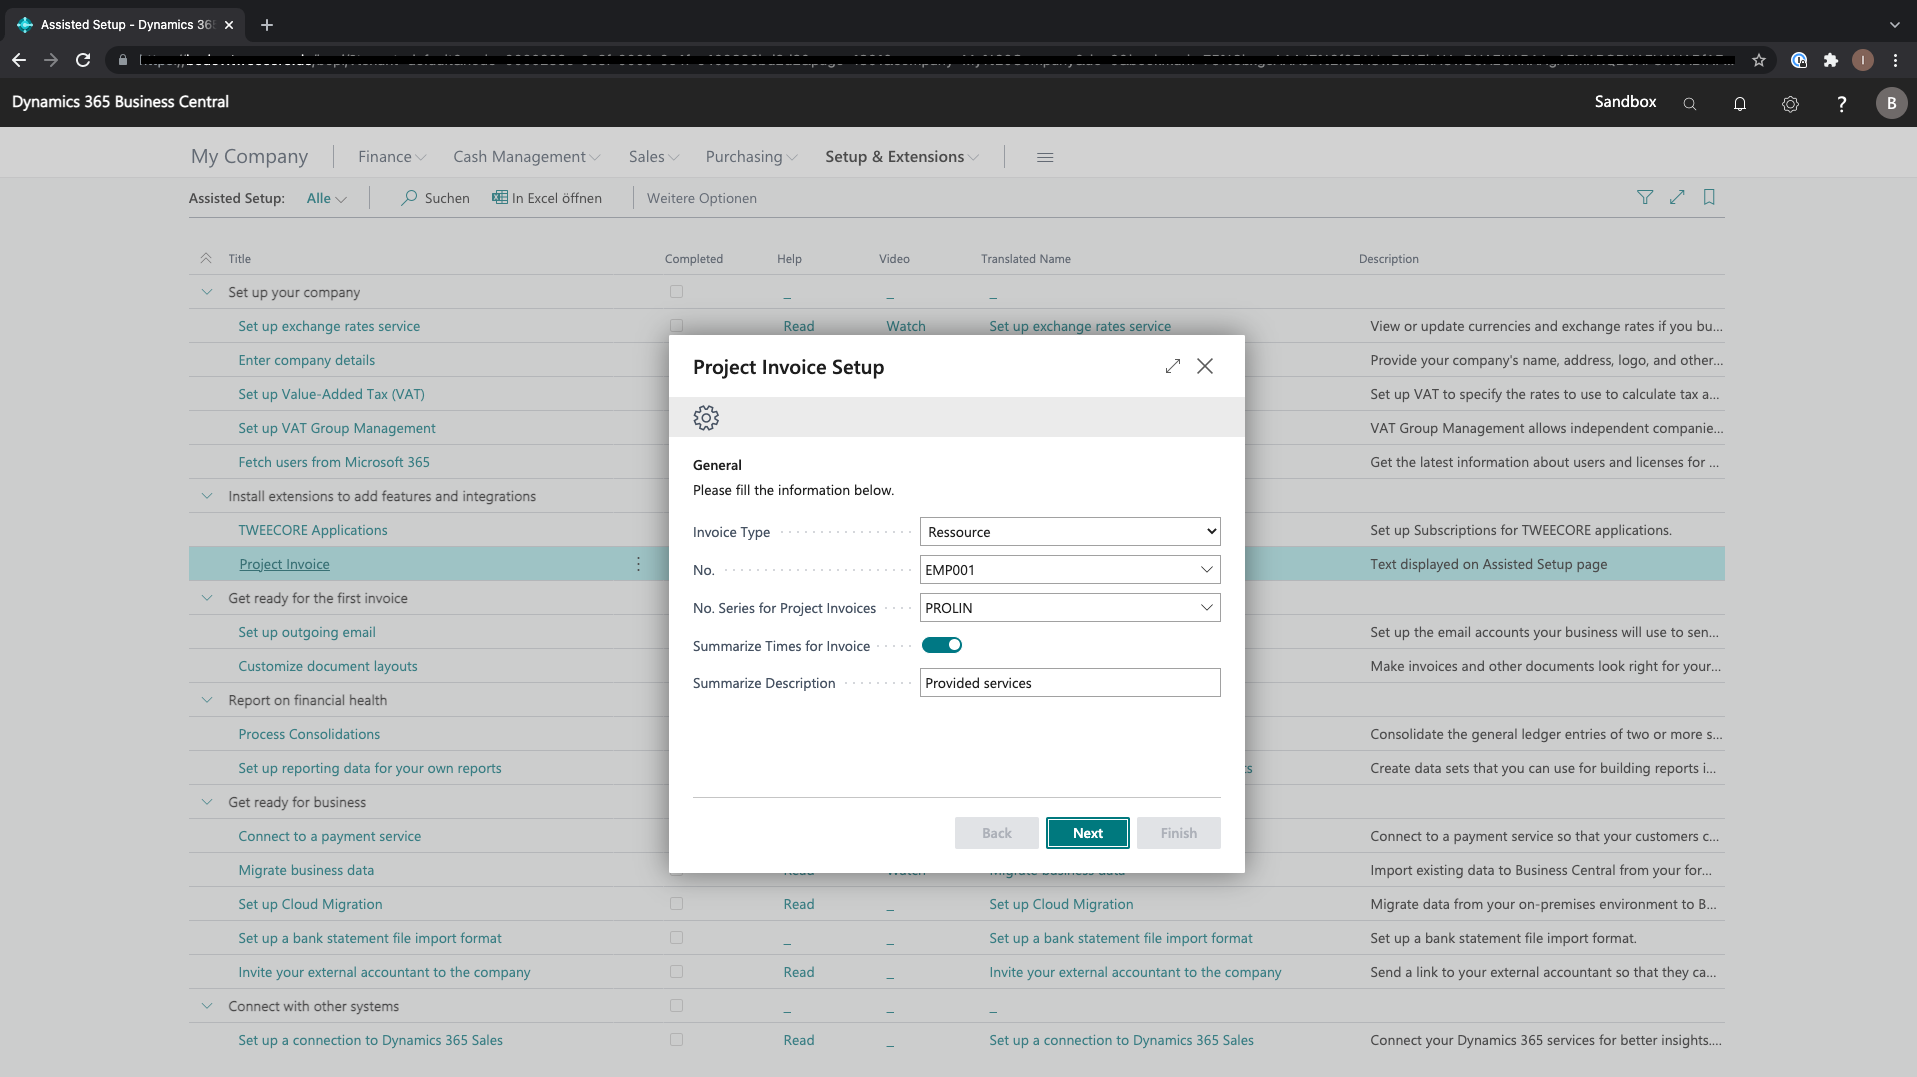
Invoice Type - this is the sales line type which will be used to be invoiced.
No. - this is the No. which will be used, G/L Account No., Item No. or the Ressource No. .
No. Series for Project Invoices - the No. Series will be used to create the imports from your project management system.
Summarize Times for Invoice - you are able to decide if you want to get every time description as sales line or want an summarized sales line and a detail report as attachment.
Summarize Description - if you selected to summarize the time lines, this will be the description.
Step 2:
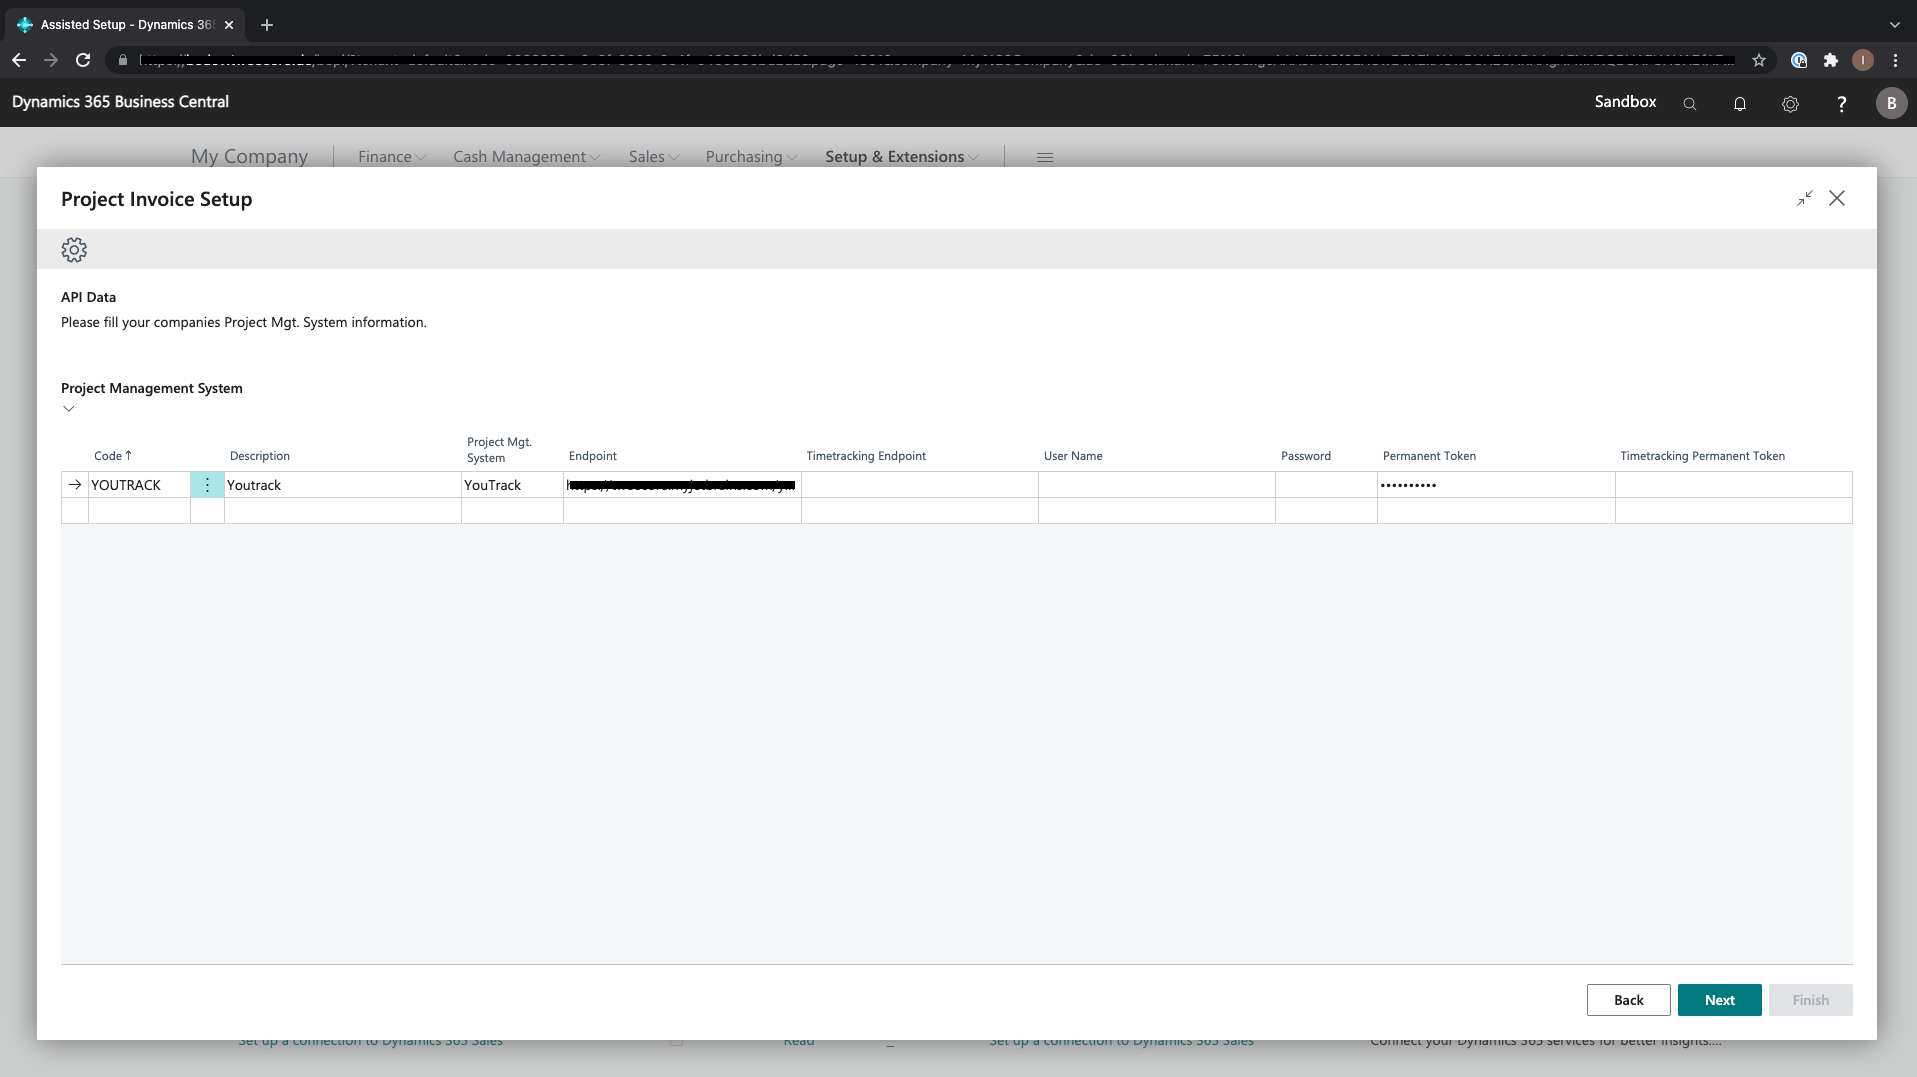
Code - unique name for the oAuth Application.
Description - description for this oAuth Application.
Project Mgt. System - defines which Project Mgt. System will be used.
Endpoint - url to the Project Mgt. System.
Timetracking Endpoint - this url will only be needed if you selected Jira (Tempo) as Project Mgt. System, please enter the Tempo Timesheet url.
User Name - user with enough rights in the project mgt. system, to be able to get receive the data of all projects.
Password - password for the user.
Permanent Token - api authorization key also known as permanent token which you can create in your Project Mgt. System.
Timetracking Permanent Token - this token will only be needed if you selected Jira (Tempo) as Project Mgt. System, please enter the generated token by Tempo Timesheet.